How to Prepare for Wood Floor Sanding: A Homeowner’s Checklist
Updated: Nov 7
Having your wood floor sanded is much easier when the room, access and timing are planned in advance. A little preparation helps the sanding and finishing work run smoothly, protects nearby belongings and makes it clearer when the room can be used again.
Every floor is different, so we’ll confirm the preparation needed for your home after looking at the floor, its condition and the finish you want.
Before work starts, the floor needs checking
The first step is identifying the floor and checking what can safely be sanded. Solid boards, engineered flooring and parquet have different construction and sanding limits. For example, engineered flooring has a real wood wear layer above its core, and parquet needs care around its pattern, blocks and previous repairs. Read our guides to engineered floors and parquet sanding for more detail.
We’ll also look for loose boards, raised nails, old coatings, deep stains, gaps, repairs and changes in floor level. These can affect the sanding method, the finish and what result is realistic. If you can, send clear photos and approximate room measurements before a visit.
Your wood floor sanding preparation checklist
Clear the room as far as possible. Move freestanding furniture, rugs, floor lamps, plant pots, ornaments and other small items before work begins. If something is too heavy or difficult to move, tell us in advance so we can discuss the options.
Mention fitted units and fixed items. Kitchen units, islands, fireplaces, radiators and other permanent fixtures usually stay in place. We can explain how the exposed floor around them can be treated and where there may be limits.
Plan for dust beyond the room. We use dust-controlled sanding equipment with extraction, but no sanding process can promise a completely dust-free home. Move or cover nearby belongings and ask us about adjoining rooms, open staircases or connected spaces.
Tell us about the floor’s history. Previous oil, wax, polish, cleaning products, stains or DIY repairs can affect how the surface sands and how a new finish behaves. Let us know what you know, even if you’re unsure of the product.
Point out anything that needs attention. Show us loose or squeaky boards, nail heads, damaged blocks, gaps, water marks and areas that have been repaired. It helps us plan the work and discuss whether filling or repairs are suitable.
Make access straightforward. Let us know about parking, stairs, narrow entrances, access times or other work happening in the property. We’ll agree the practical arrangements before the start date.
Keep children and pets out of the work area. Sanding machinery and wet finishes need a clear, safe space. We’ll advise when each room can be entered again.
Plan around the finish. Allow for the sanding stages, any repairs and the time needed between coats. Drying and full curing are different, so don’t plan furniture, rugs or normal use until we’ve confirmed the product-specific guidance.
What we take care of
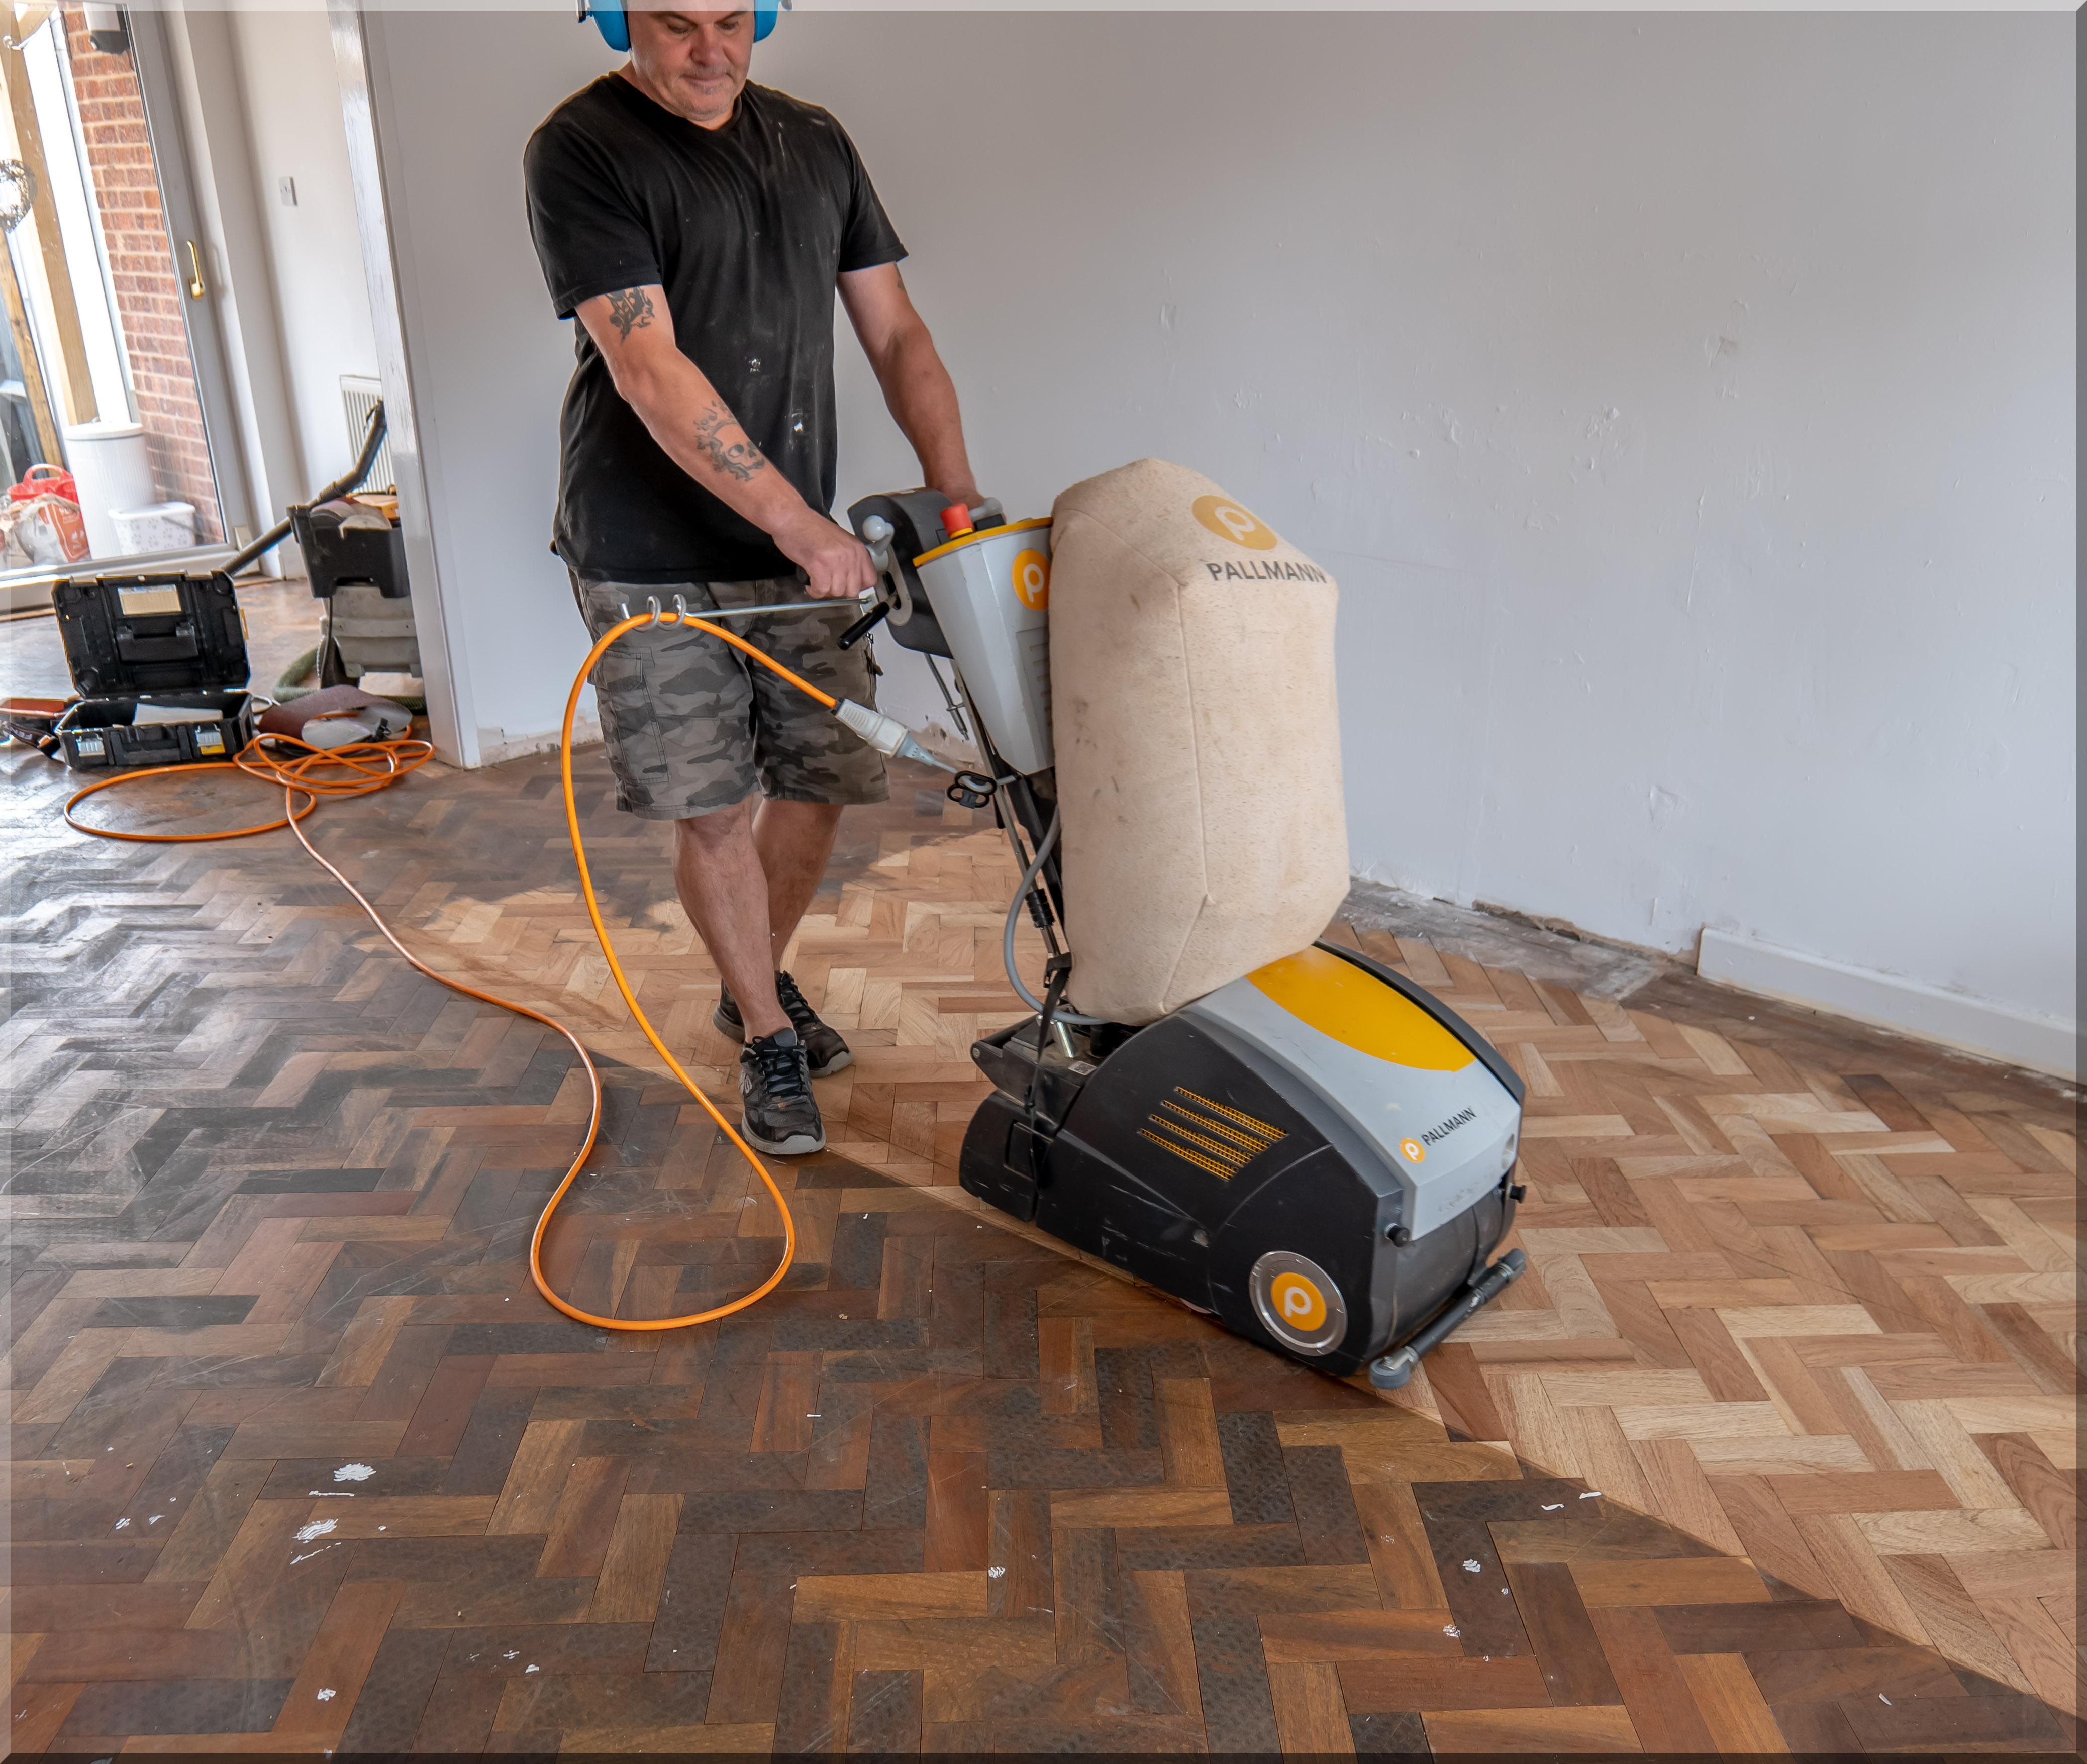
You don’t need to choose the machine or abrasives. We assess the floor and select a suitable process for its condition, construction and texture. Depending on the floor, that may include a belt sander for controlled material removal and a planetary machine for refining the surface. You can read more about how we sand wood floors and why the method can vary.
We’ll also discuss filling, repairs and finish options before work starts. That way, you know what is included and which marks or colour changes may remain because of the wood itself or the floor’s previous treatment.
Choose the finish and allow time for it
If you’re deciding between hardwax oil and lacquer, think about the look you prefer and how you want to maintain the floor. Each finish has different characteristics; our hardwax oil and lacquer guide explains the main differences.
Drying times and the time before normal use depend on the specific product, the number of coats and conditions such as room temperature and ventilation. A floor may feel dry before it has fully cured. We’ll give you the instructions for the finish used on your floor, including when to move furniture back and when to put rugs down.
After the work
Follow the aftercare advice we give you, especially during the early curing period. Use suitable felt pads under furniture and the cleaner recommended for the finish. Our guide to cleaning real wood floors covers everyday care.
Common questions
Will sanding make a mess? We use dust-controlled equipment and extraction to collect dust at source, but some fine dust may still settle nearby. Clearing and covering belongings helps protect them.
Can every wood floor be sanded? No. It depends on its construction, remaining wear layer, condition and texture. We check this before recommending the work.
How long will the room be out of use? The time varies with room size, repairs, the sanding process and finish. We’ll talk through the expected schedule and product guidance for your specific job.
Ready to arrange your floor sanding?
Send us a few clear photos, your postcode, the approximate room size and any details you know about the floor. We can then advise on the next step and arrange a visit where needed. Axholme Floor Care restores wood floors across Scunthorpe, North Lincolnshire and surrounding areas.


Comments